




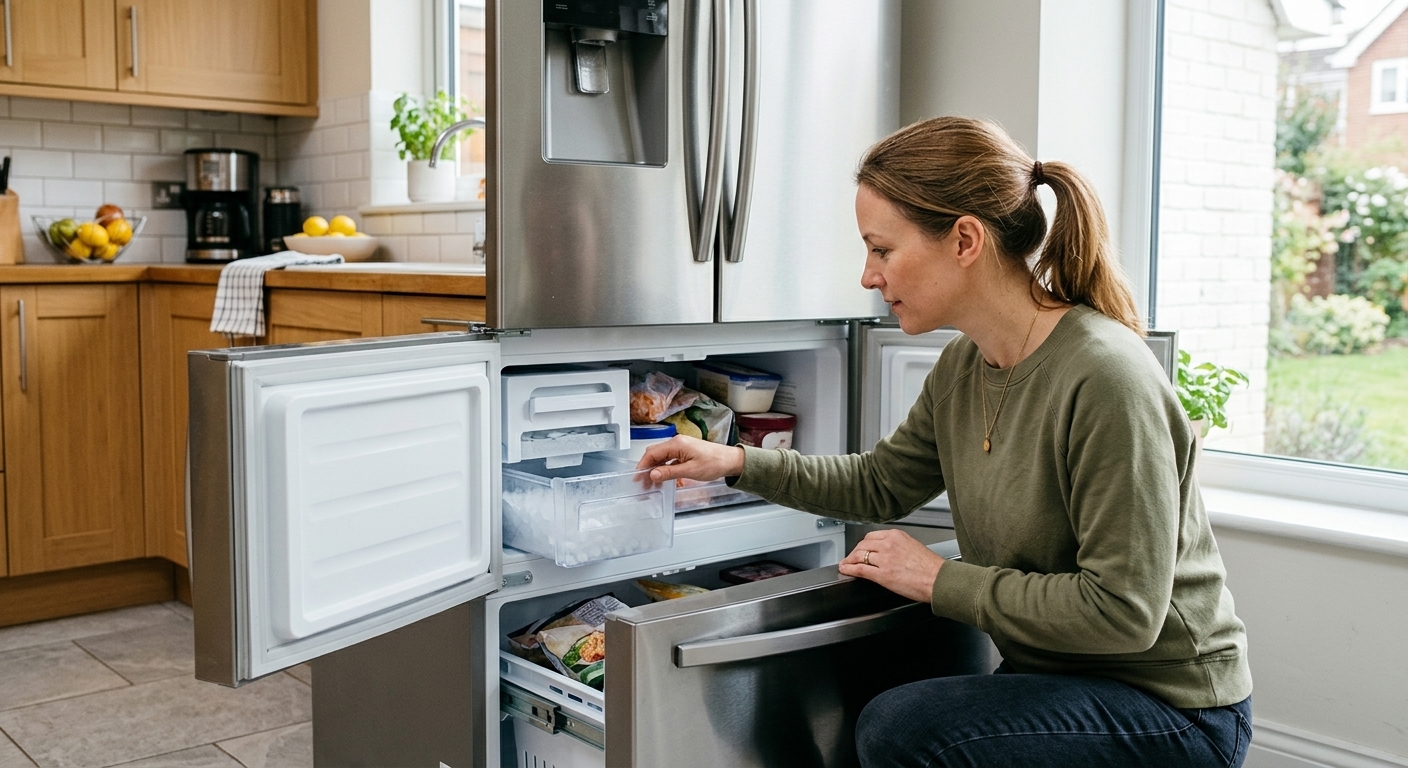
DIY Fridge Repair Tips: Easy Solutions for Common Refrigerator Problems
Not every fridge problem needs a technician. This set of DIY fridge repair tips covers the ones you can handle yourself, usually in fifteen minutes or less.
If your fridge isn’t cooling, that’s its own diagnostic path with a lot more branches than fits here, our refrigerator not cooling guide walks through that specifically. This one covers everything else, ice maker problems, leaks, noise, and the general troubleshooting habits worth having.
Check the Basics First
Confirm it’s actually plugged in, and check the breaker. Easy to skip, especially right after moving the fridge for cleaning.
DIY Fridge Repair Tips for a Broken Ice Maker
Tiny cubes, no ice at all, or ice that comes out cloudy or gray, all of these usually trace back to one thing: the water inlet tube feeding the ice maker is frozen or partially blocked. Low water pressure lets water trickle in slowly enough to freeze before it reaches the tray. Unplug the fridge, pull the ice maker’s mounting screws, disconnect the wiring harness, and check the inlet tube behind it for ice. Clear it, reassemble, and give it a few hours to catch up.
Water Leaks
Usually a clogged drain tube or a damaged water line, not the fridge itself failing. Clear the drain tube with warm water and a stiff wire to flush out debris, that fixes most of these on its own. Check the supply line running to the ice maker for cracks, and replace it if you find any. Fridge not sitting level? Condensation pools and looks like a leak, adjust the front legs and check again.
Unusual Noises
Buzzing usually means ice has built up around the evaporator fan motor. A defrost cycle, or unplugging it for a few hours, typically clears it. Rattling is often just a loose drain pan at the bottom, not a real problem, just needs securing. A grinding or growling sound is different, that’s more likely the compressor or a fan blade hitting something, and it’s worth having someone listen to before you keep running it.
Check the Control Board for Burn Marks
If the fridge seems dead or is acting erratically, unplug it, pull the back access panel, and look at the circuit board. Burn marks or a scorched smell are an easy visual tell that something’s actually failed there, photograph it before you touch anything. Board looks clean? The largest relay on it is another common failure point worth having a technician check.
Error Codes
Newer fridges display a code instead of just acting up silently. What it means depends entirely on the brand. Check your manual or look up the exact code for your model before assuming the worst or guessing at a fix.
Door Seals
A cracked or dirty seal is one of the more common causes of energy loss and warm spots, even when the compressor’s working fine. Natural Resources Canada recommends a simple test: close the door on a sheet of paper, if it slides out easily, that’s a problem. Or hold a flashlight inside, if you can see it through the seal from outside, it’s time to replace it. Clean it with warm soapy water, and replace it if it’s visibly torn or no longer springs back into shape.
Replacing the Water Filter
A clogged filter slows down both ice production and dispensed water. Twist out the old one, drop in a compatible replacement, and you’re done, this one’s genuinely a five-minute job.
When These DIY Fridge Repair Tips Aren’t Enough
A control board with visible damage, a compressor that’s making real noise, or a leak that keeps coming back after you’ve checked the obvious spots, any of those are worth a call instead of guessing further.


1 Comment
Ice Maker Not Making Ice? Here's Why
[…] time it’s one of a handful of common causes, and several of them cost nothing to check. Our DIY fridge repair tips guide touches on this briefly, this one goes […]