Hassle-Free Washing Machine Installation: Pro Tips for a Smooth Setup
I’ve seen it all when it comes to washing machine installations. Whether you’re setting up a new washer or upgrading your laundry room, proper installation ensures efficiency, prevents damage, and extends your appliance’s lifespan. If you’re in North York, explore our North York washing machine repair and installation services to make your installation process smooth and efficient. While the process might seem straightforward, there are essential steps and considerations to keep in mind to avoid costly mistakes.
In this guide, we’ll cover everything you need to know about washing machine installation, from preparing your space to leveling your appliance, ensuring you’re set up for success.
Preparation: The Foundation of a Proper Installation
Proper preparation is the key to a seamless washing machine installation. Here’s what you need to know before getting started:
Plumbing and Drain Setup
- Water Lines: Hot and cold water lines must be installed by a plumber. Appliance technicians can only hook up existing lines, not install new ones.
- Drainage: A proper drain is crucial to handle the water pressure. Ensure your standpipe is at least 24 inches high to prevent backflow.
Choosing the Right Pipes
For safety and durability, opt for metal-braided hoses. These pipes are less prone to leaks and offer protection from fire damage, an added benefit in emergencies where water flow might help contain fire risks.
Selecting the Perfect Spot
Place your washing machine on a stable, level surface. Uneven floors can cause the washer to vibrate excessively or shift during cycles. If your floor slopes or drains to one corner, use the machine’s adjustable legs to achieve proper leveling.
Step-by-Step Installation Guide
- Connecting the Water Inlet Hoses
- Identify the hot and cold water connections on your washing machine.
- Attach metal-braided hoses to the corresponding faucets. Use rubber washers and tighten connections with an adjustable wrench.
- Connect the other ends to the washing machine. Over-tightening can damage threads, so secure connections snugly without excessive force.
- Securing the Drain Hose
- Attach one end of the drain hose to the washer’s outlet.
- Position the other end into a standpipe or utility sink, ensuring it’s at the recommended height of 24–40 inches. Use a clamp to secure the hose and prevent it from slipping during draining.
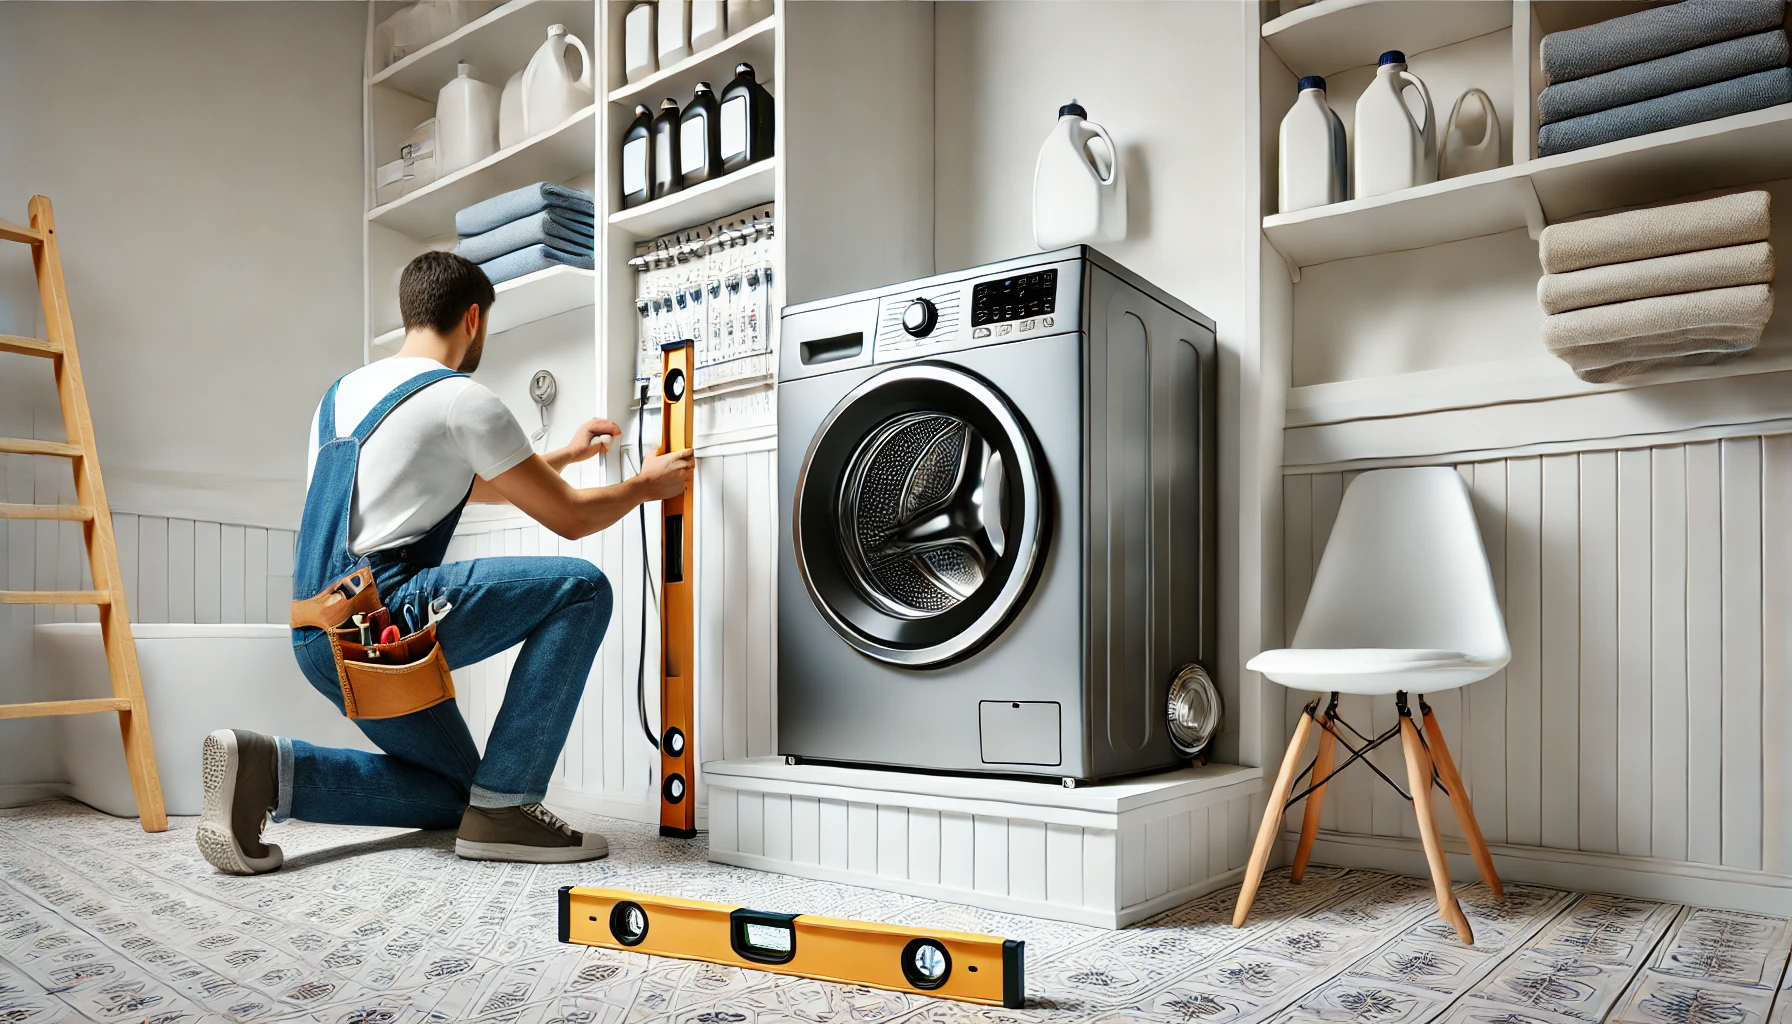
- Leveling the Washing Machine
- Place a level tool on top of the washer.
- Adjust the feet by turning them clockwise or counterclockwise until the machine is stable and level on all sides.
- Tighten the locking nuts on each foot to maintain the adjustments during use.
- Testing the Setup
- Run an empty cycle to check for leaks and ensure everything is working correctly. Observe the water inlet, drain hose, and leveling during operation. Address any unusual noises or leaks immediately.
Tips for a Safe and Efficient Installation
Tie Loose Strings
Sweaters with loose strings can get caught in the drum or rollers, causing damage. Secure strings before washing or drying to prevent issues.
Use Proper Accessories
For small items like socks, use laundry bags to avoid them getting caught in the drum or drainage system.
Avoid Overloading
Stick to the washer’s load capacity. Overloading can strain the motor and drum, reducing efficiency and causing premature wear.
Common Mistakes to Avoid
- Skipping Plumbing Prep: New water lines and drains must be installed by a licensed plumber. Attempting to hook up a washing machine without proper plumbing can lead to leaks and inefficiencies.
- Neglecting Pipe Quality: Using standard rubber hoses instead of metal-braided hoses increases the risk of leaks and fire-related damage. Always opt for durable, high-quality materials.
- Ignoring Floor Leveling: An unlevel washing machine can vibrate excessively, leading to noise and potential damage to the appliance or flooring.
- Skipping the Test Run: Always perform an empty cycle test to check for leaks, drainage issues, and proper functionality before loading your washer with clothes.
Maintenance Tips for Longevity
- Inspect Hoses Regularly: Check water supply hoses every six months for signs of wear. Replace any damaged hoses immediately.
- Clean the Drain Filter: Remove lint and debris from the drain filter monthly to maintain proper water flow. Check out our washing machine filter cleaning guide for detailed tips.
- Check the Leveling Periodically: Recheck your washing machine’s leveling to ensure stability over time.
- Run Cleaning Cycles: Use a washer cleaner or white vinegar to remove detergent residue and mineral buildup.
Why Choose Appliance Doc?
At Appliance Doc, we specialize in seamless washing machine installations and repairs. From ensuring your plumbing and drainage are ready to hooking up your washer with precision, we’re here to make the process hassle-free. If you’re in Thornhill, check out our Thornhill washing machine repair and installation services for expert help. With our expertise, you can rest assured that your appliance will run efficiently for years to come.
Conclusion
Installing a washing machine is simple when you follow the right steps and use quality materials. By preparing your space, using metal-braided hoses, and leveling your appliance correctly, you’ll prevent many common issues and ensure long-term reliability.
For those times when installation gets tricky, or if you’re unsure about your plumbing or leveling, Appliance Doc has you covered. Contact us today to schedule your washing machine installation or repair and enjoy peace of mind with every load of laundry!


